
Like many others, I’ve become obsessed with AI. There are so many cool projects to pursue, and I have so many unfinished projects. This project is special because how great it turned out, and how surprisingly little effort it was.
All the tools used here are free and can be found here:
- A good portrait Stable Diffusion model, like this one.
- Stable Diffusion Webui with the Dreambooth extension
So, why did I do this?
In the early days of AI I recall people being excited about image generation capabilities. In company or team meetings where AI generated images were used to represent the company or its products, it was always done for fun & nowhere near represented the actual product. I knew it was possible to fine-tune models, so the moment my eyes gazed upon the Muse Marketing Press Kit I was compelled to try and create a better ai model.
High Level Setup
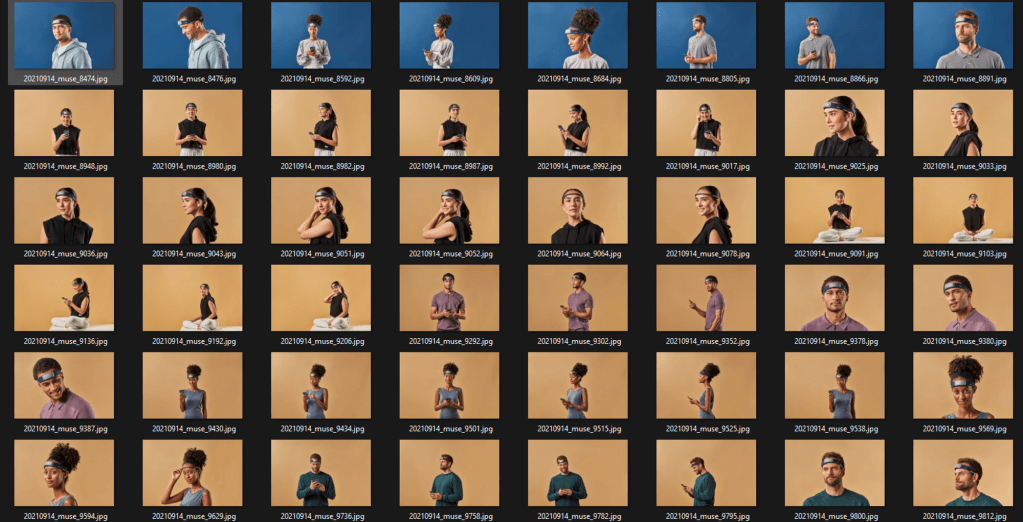
The Muse Press Kit contains ~50 high quality images of people using our product the Muse 2 S (sleep version). This is somewhat just an experiment with a goal of creating new, images in the style of the press kit. New people, new backgrounds, etc. All wearing the same product on their heads.
The Muse Press Kit
Model Building, Testing and Evaluation
Result Samples
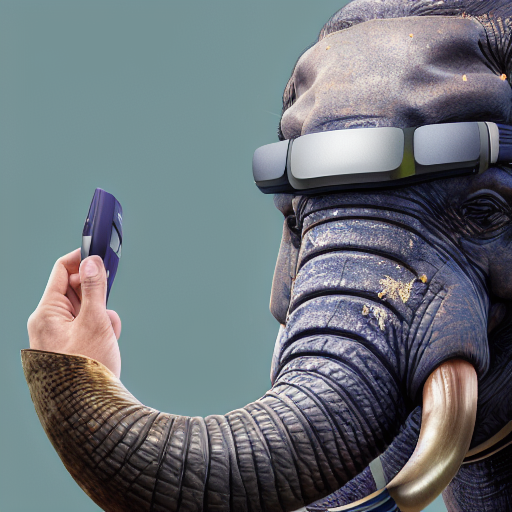
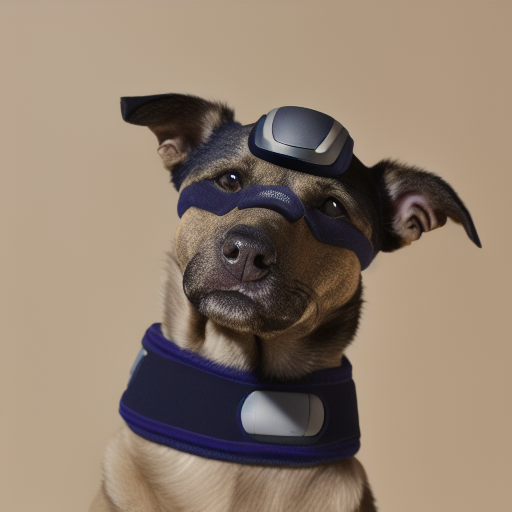
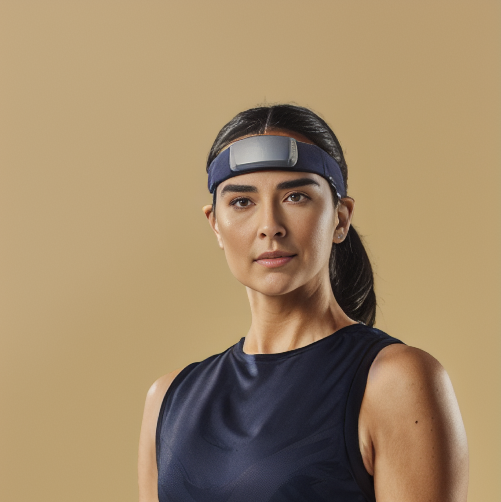
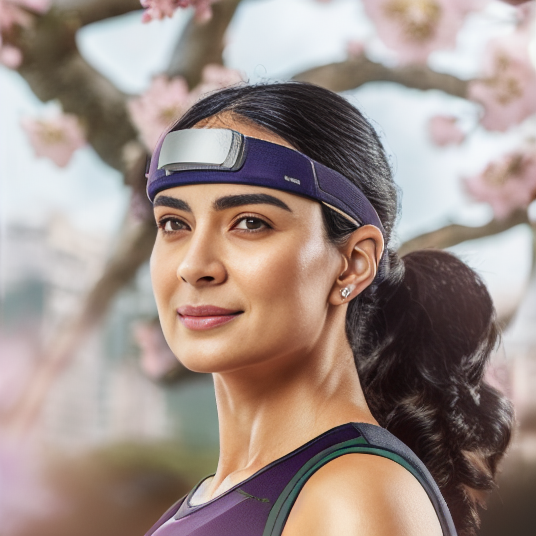
I cherry-picked 3 of (in my opinion) the highest quality AI-generated images that were created.

Model Training, Testing and Evaluation
First Model – Establishing a Benchmark
At this point I have no idea what I’m doing, and have no idea what to expect. I did not label any of the photos, used a small number of training steps and realized quickly there was no way I could “tell” the model that I wanted to generate images of people wearing the headband because I never told it what a headband was. Anyway, here are the results – as expected with no headbands.
Model 1 Evaluation:
- small number of training steps: 2,800
- small number of training images
- no labeled data
- no prompt example → this turned out to be an error. I believe it is the reason why there are no headbands appearing in the photo.
Pros:
- high quality faces – this is why I chose the base model Dreamlike
Cons:
- no reference to headband at all
2nd Model: Adding Labels To Training Data – Headband Visible!
As expected, by including a description with each training image, we can at least gain context on what the headband is. All I needed to add here was “muse 2 style person” and got the results below.


Model 2 Evaluation:
- small number of training steps: 2,500
- small number of training images
- adding the same prompt with each training image “muse 2 style person”
Pros:
- people are high-quality
- headband is visible!
Cons:
- headband is far from being on-brand, very little consistancy between images
3rd, 4th & 5th Models – More Images, Ramping Up Training Steps
For this test, I’m basically limit-testing the training steps. I’m going to increase the number of steps by a lot between models, to try and pick the sweet-spot.
Model 3: 4,555 Training Steps – SO much better already!


Model 4 & 5: 10,994 & 18,940 Steps – We’ve got it!
These two took a long time to train, relative to the others. I’m really pushing the limits of my hardware for a hobby project so I’m just taking the best of these two models. In this case, the lower of the 2 models produced better images and this was likely result of model 3 being slightly “overfit”. Faces looking a little melted, starting to forget what a human looks like.
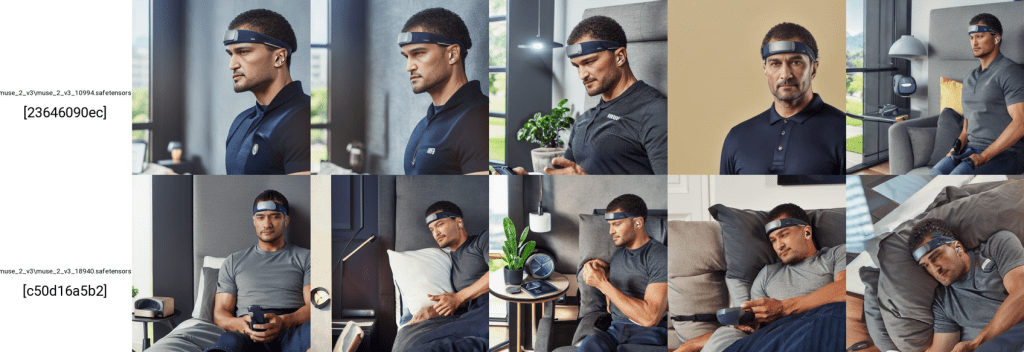
Final Selection: Model 4 with 10,994 Training Steps
This model produces pretty good results, the headband is by far the best one and has all the features in the right places (white stripe on headband, the logo – even if its not real letters).
Tuning Model Parameters
Our model has a few parameters that will really change the quality of the output we recieve. For this section, similar to the model fine-tuning process, I’m looking to limit test each of the parameters I’m interested in testing. We’ll stick with the common ones here, and not get too into the weeds.
CGF Scales = 3, 5, 7, 9
Simply put, the CFG scale (classifier-free guidance scale) or guidance scale is a parameter that controls how much the image generation process follows the text prompt. The higher the value, the more the image sticks to a given text input. — getimg.ai, 2024
I’m not totally sure what this means literally in terms of the model, but it’s recommended to stay between 3-9, so we will.
Also just for fun we included a test just to (test our test?) and we can couble confirm that our model choice was indeed a good one
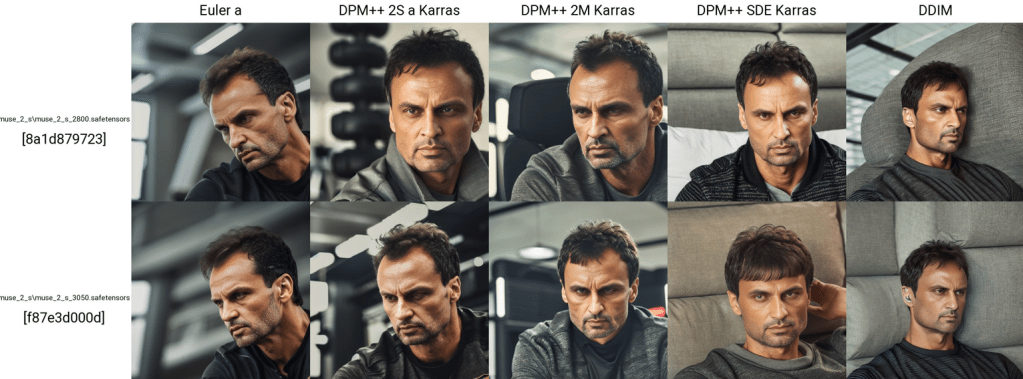
Muse S Man

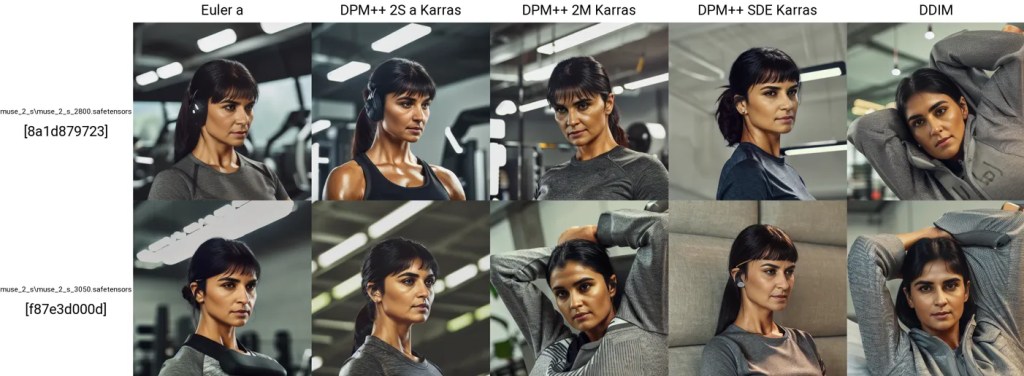
Muse S Woman
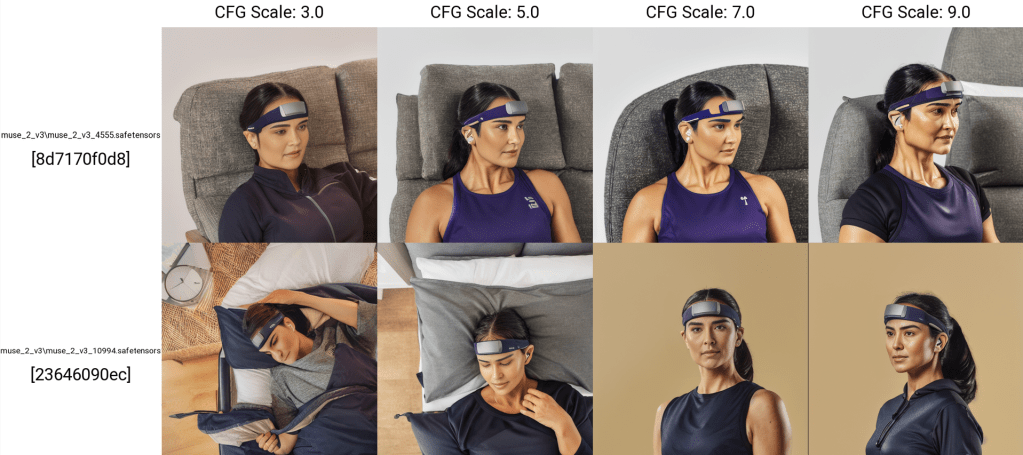
For both Muse S Man & Woman, in my opinion CFG scale = 7.0 is the best choice and is what we’re going to use. Evaluation based on vibes only.
ℹ️ Note on choosing the sampler → I’m realizing that I am missing the images I used to test out the different samplers. For this purpose I’m just going to state that I ended up going with DPM++ 2S a Karras sampler, which based on vibes it was the best.
Bonus Experiment – Creating a “Video”
This process involves splitting a video into separate frames, convert each frame to a mask & run each through the model to produce an image from the mask. Put them back together in to a .gif format for the “video” to render.
Overall, this is not a perfect solution as each frame does not contain the previous frame as reference, hence the “jumping/skipping” effect.


Leave a comment